Animation Timeline
Add animation to your ad units with the Animation Timeline.
1. Open the Animation timeline
Open the animation timeline and a keyframe based animation timeline will appear at the bottom of your screen. The button to open the timeline is at the top center of the Workshop interface.

Open the Timeline

The Timeline
Animation Timeline
Timeline will open and each of the components that is already on your stage will appear in the list. You can then add Keyframe animation to any specific module and trigger that animation on a special event or autoplay when the unit loads.
Click the button next to any module in the list, or right click on the timeline to add your first keyframe.
When you add your first keyframe you will have an option to choose from a list of 18+ keyframe types. Most commonly used are TOP/LEFT/BOTTOM/RIGHT as well as SCALE. But you can experiment and try them out for yourself.
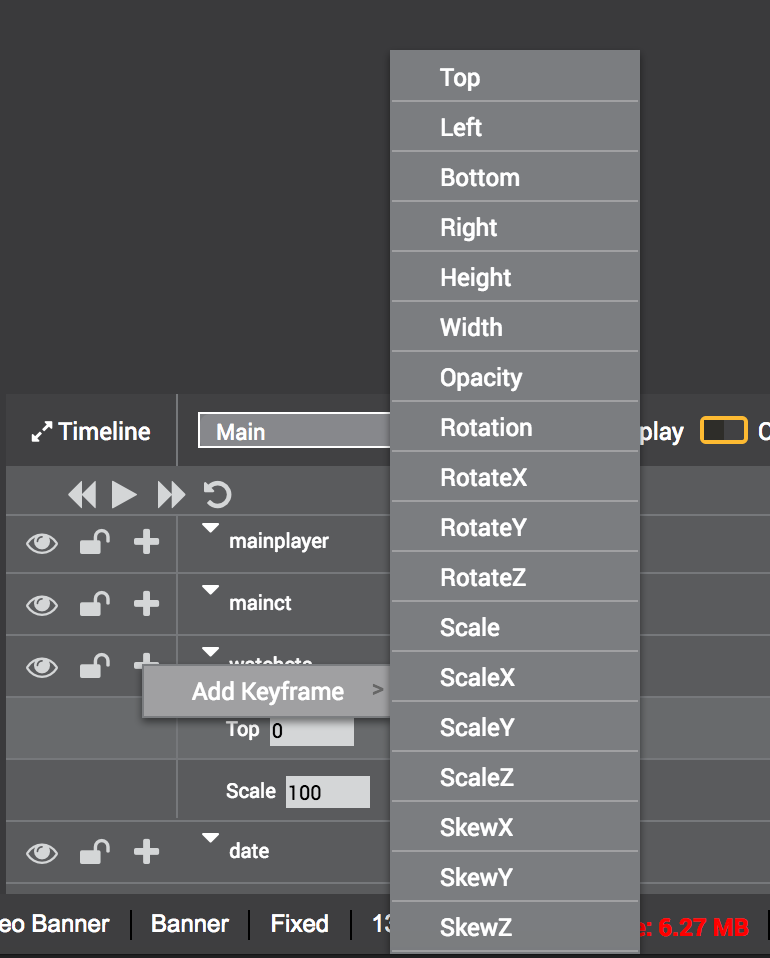
Add Keyframe - Chooser
Keyframes and Easing
Then add a second keyframe on the same row then change the value or position of the module on the stage - once those 2 values are different, you can then select a tween format or use the default tween format. The Jetpack Animation Timeline relies on the Greensock JS animation library - you can see a demo of tween eases here https://greensock.com/ease-visualizer
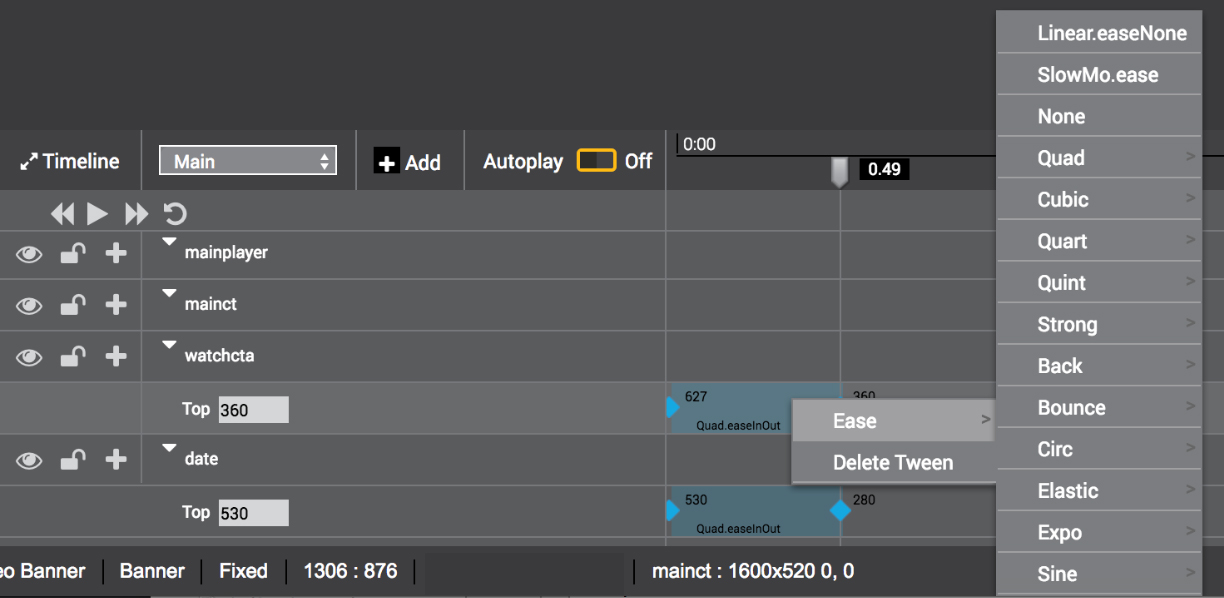
Ease Library
Playing your animation
Set AUTOPLAY to "ON" to play the animation when the ad unit loads or trigger w/ the actions panel.
Multiple Timelines
Add multiple timelines, click the button next to the current timeline and then give it a name in the window that pops onto the screen. Then select that timeline using the pulldown and add your keyframe animations to that separate timeline.
Use for Responsive Breakpoints, Multi-state units, Expandable Banners, and more.
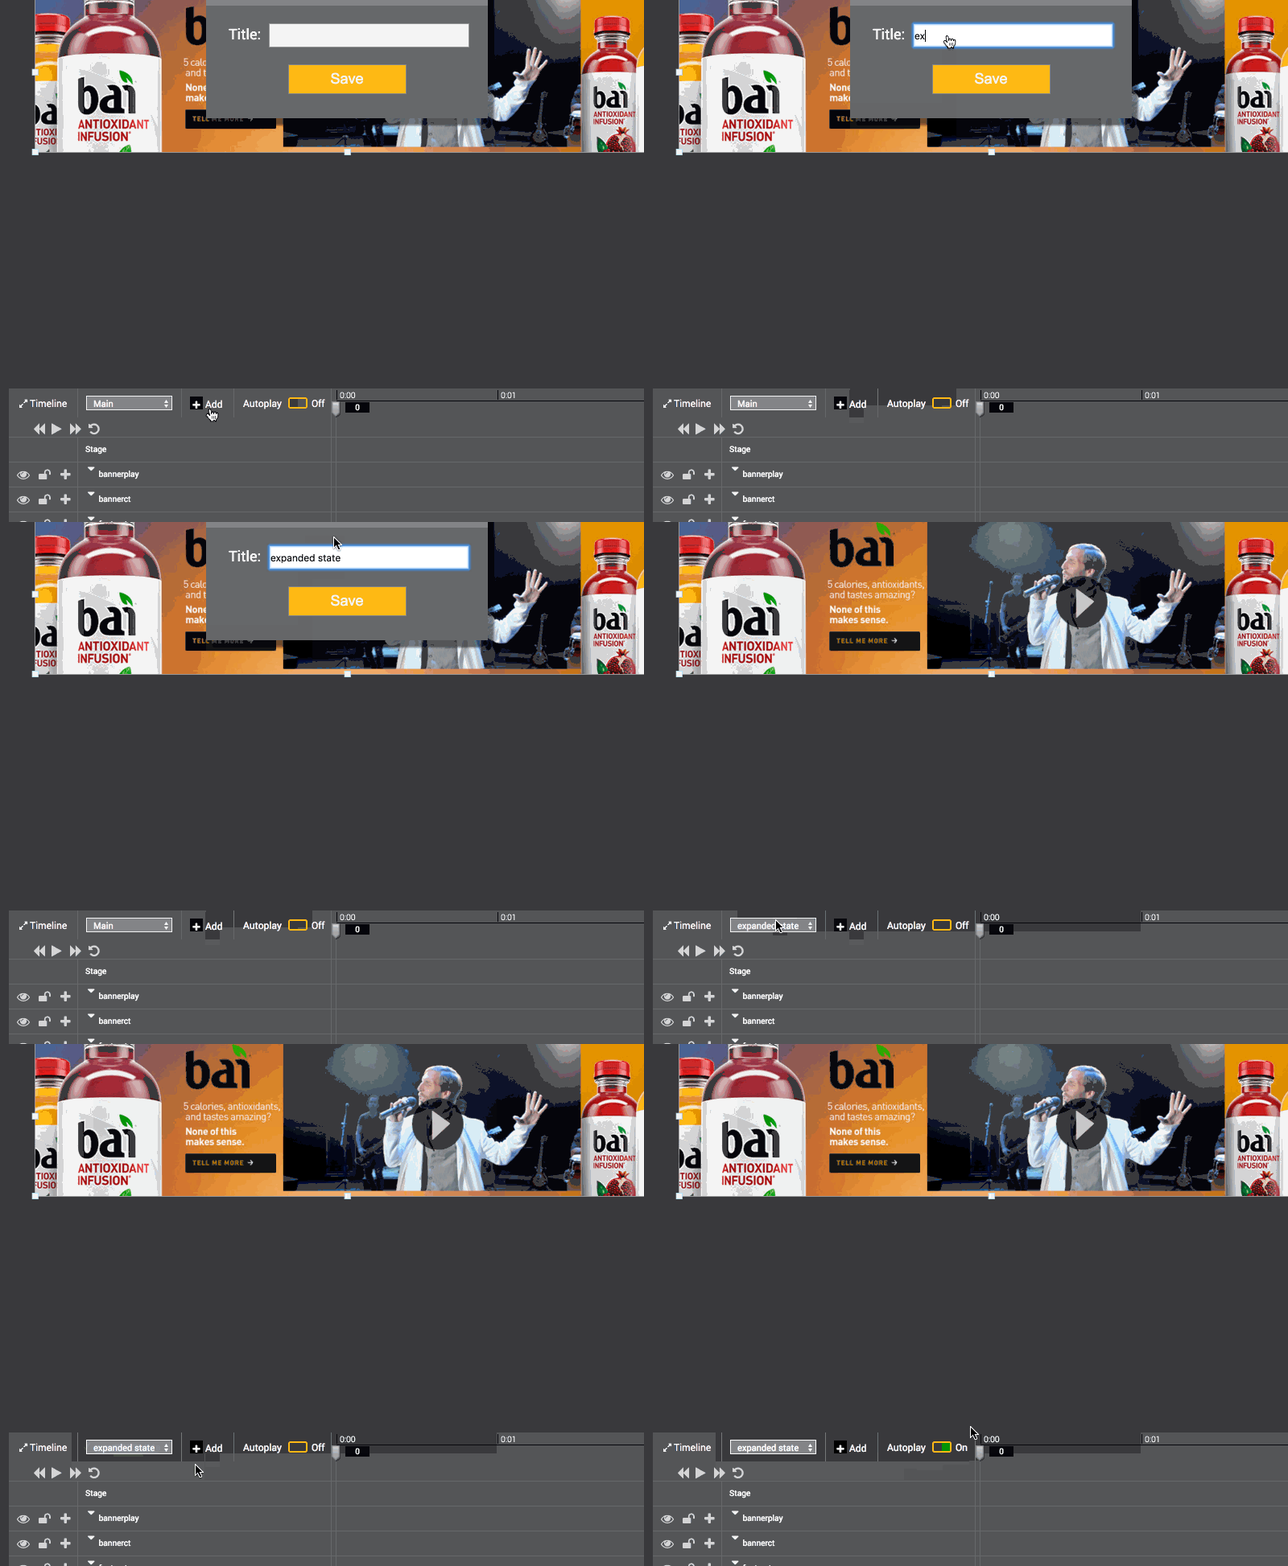
Adding a Timeline
Timeline Callbacks
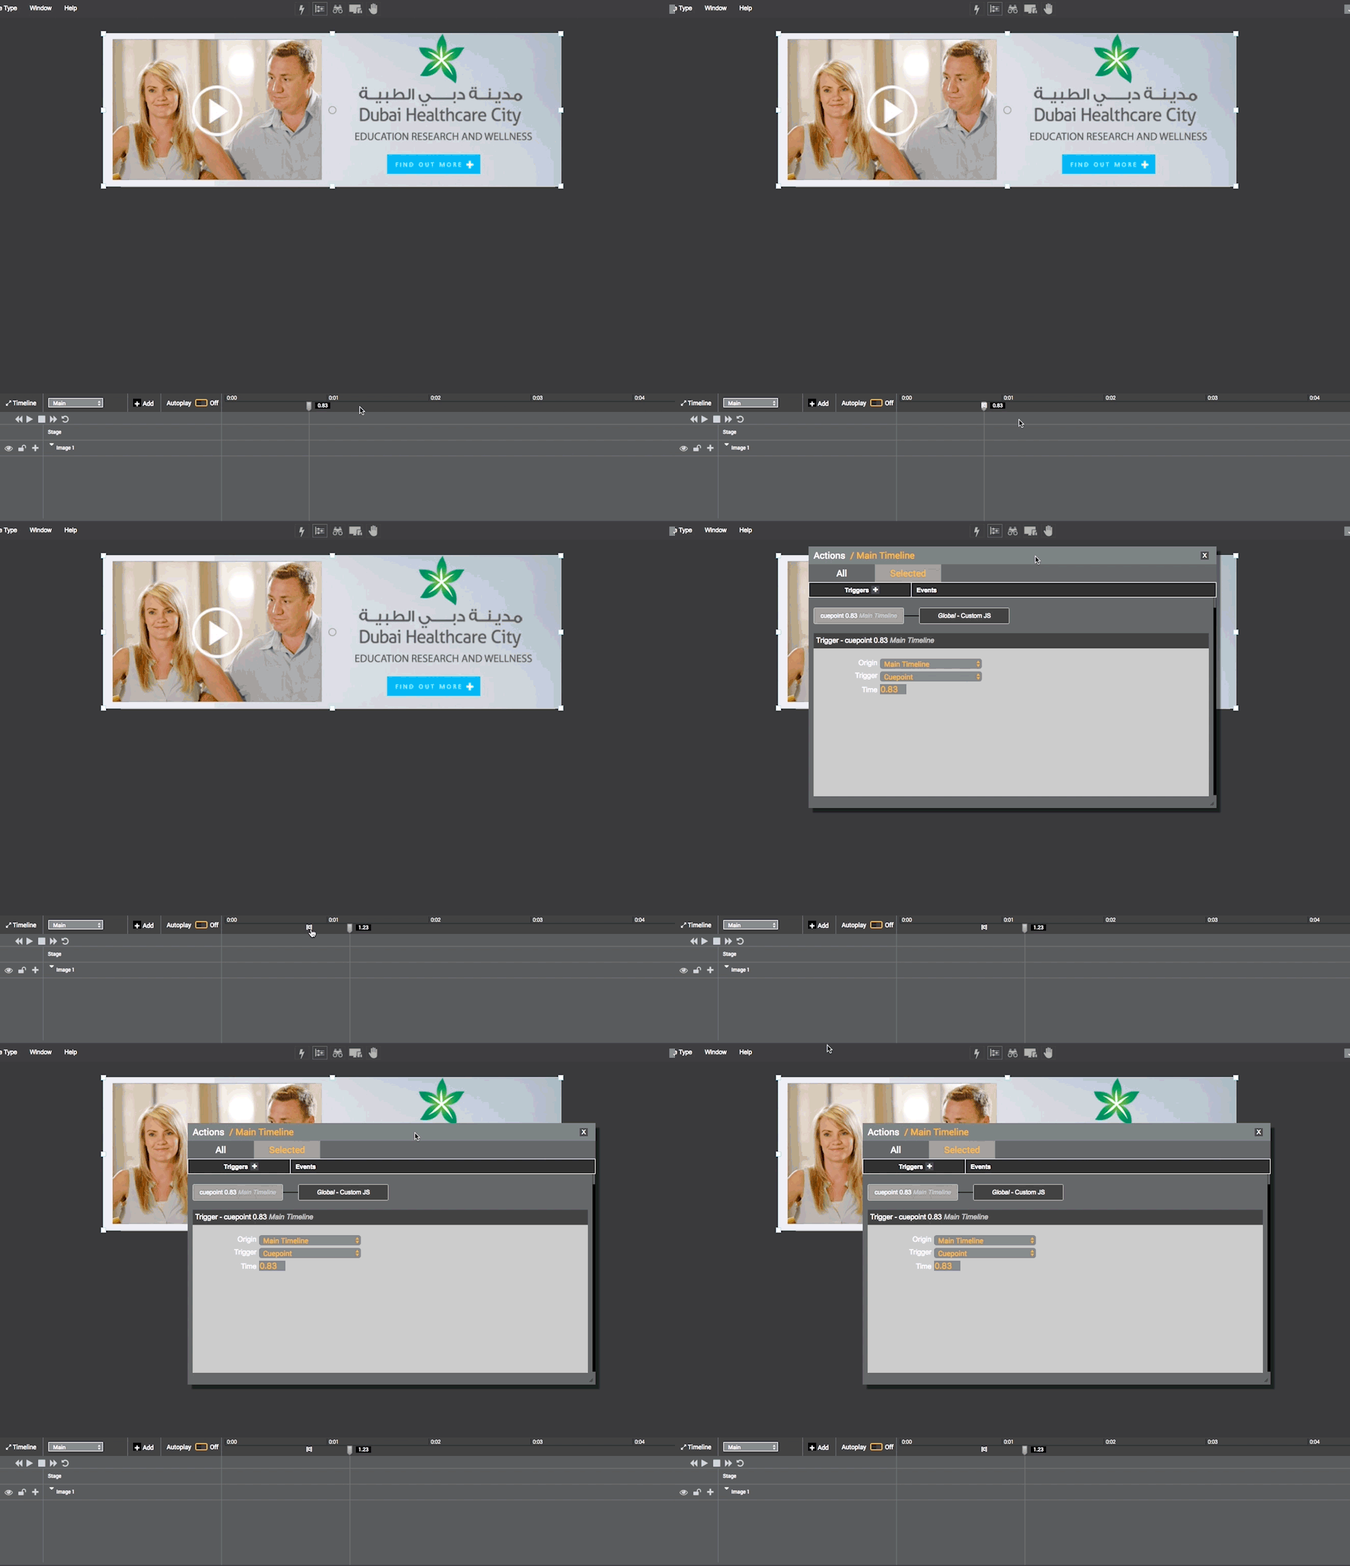
In order to trigger an action from your timeline, Callouts are a handy method. This could be anything from 'Play Video' or Showing or Hiding an element, really, any Action you may can come up with. A Callout enables the Timeline player head to trigger this action.
First, simply 'right click' on the area below the timeline, and at the specified time desired.

From here, by selecting 'Callback' a cue point is added in the form of a small 'C" (see below)
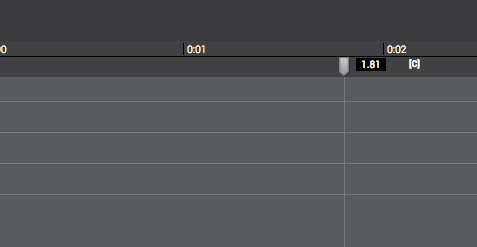
By then clicking this 'C', you'll then be prompted with the Actions Window, which will ten allow you to add the specific 'action' desired.
Advanced Features, Video Tutorial and More
Updated 10 months ago
