The Creative Workshop
The Ad Builder - Creative Workshop is the place all creative is made.
To create a new unit, select "NEW CREATIVE" and then select a stage type.
This will open the workshop.
WORKSHOP SCREENSHOT (( not able to upload or drag any objects to stage - from plane))
TOP BAR Drop Down Menu for many specific functions
- FILE, EDIT, VIEW, STAGE TYPE, WINDOW, HELP
- Animation Timeline, Guides, Responsive, Mover Hand
LEFT RAIL Properties Bar specific to STAGE or an element
CREATIVE WINDOW This is a snapshot of the unit, so you can view what you are working on
ELEMENTS The STAGE and other modules once added to the ad unit will appear in the Elements menu.
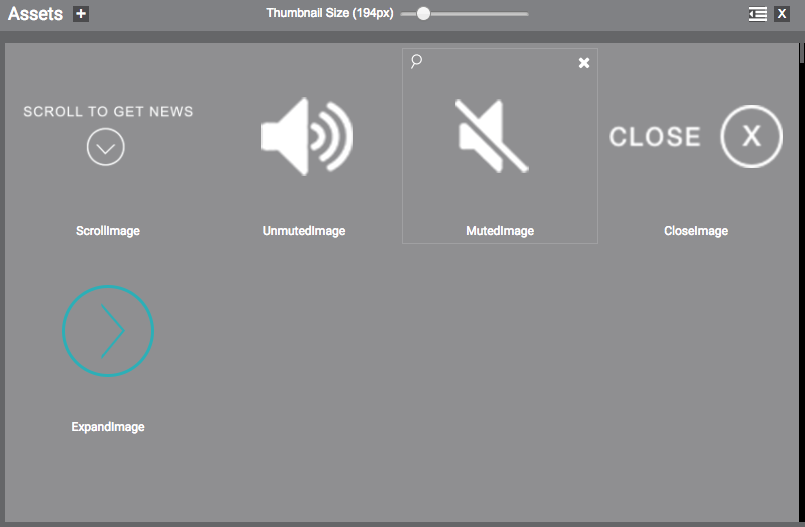
ASSETS when you upload assets they will appear in the Assets list
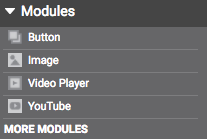
MODULES 26 different modules are available to all users
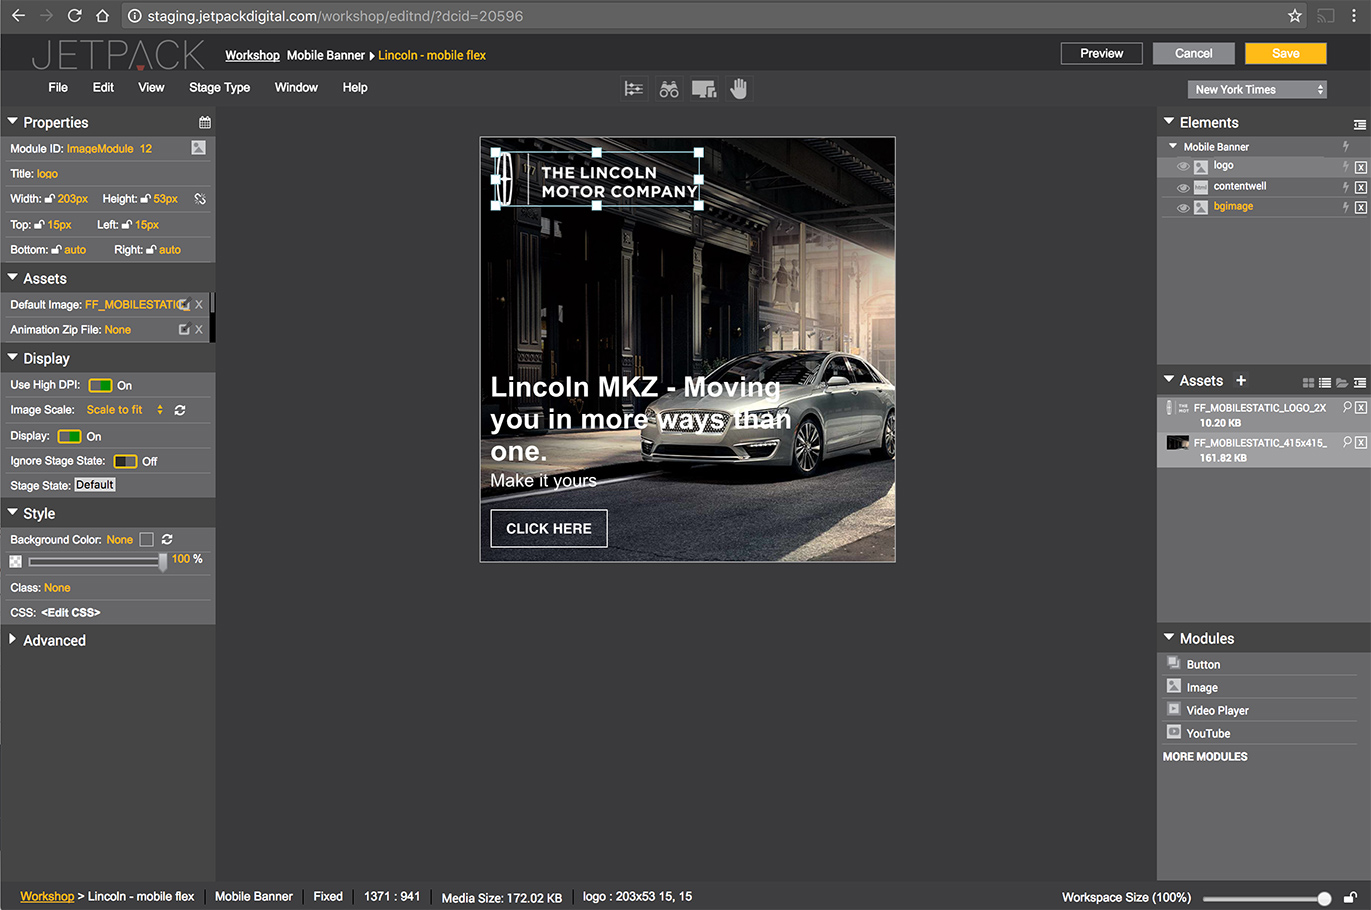
Jetpack Workshop - Jan 2017
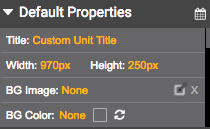
Default Properties
Default properties will generally remain the same no matter the stage you chosen to begin with. The default settings allow you to do basic things like updating the name of your creative, change the width and height and background options.
Collapsed Properties
Only present when a Stage Type with multiple stages is selected.Collapsed properties are largely the same as default properties with the addition of a few settings around ad state.
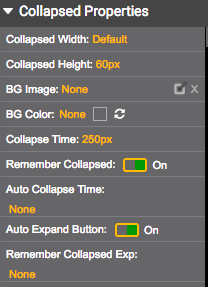
Collapse Time -- Set the collapse time.
Remember Collapsed - This setting tells the unit to remember its collapsed or expanded state.
Auto Collapse Time - Set a timer to auto collapse the ad unit.
Auto Expand Button - Turn this on or off.
Remember Collapsed Exp - Set the state setting.
Start Collapsed - The ad unit begins in the collapsed state.
Exp Freq/24 - Set the expand frequency.
CSS
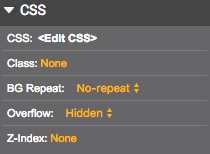
CSS:<Edit CSS> - For the advanced user, the Design Workshop gives you multiple options to edit your CSS at the creative level.
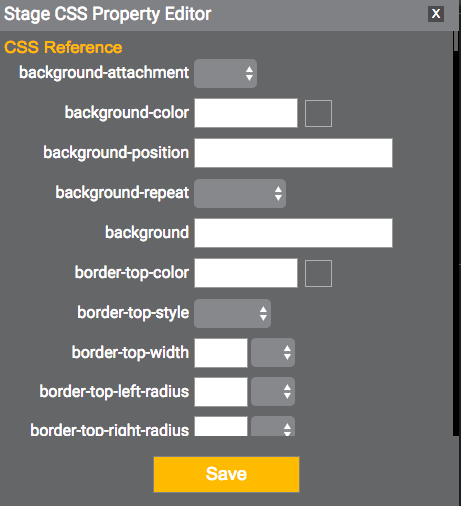
Class- Specify a class to target here.
BG Repeat - Define how background images are repeated.
Overflow - Select in the dropdown the behavior of the overflow property.
Z-Index - Enter a value for the z-index here.
Elements
Elements are similar to layers in Photoshop. In the Design Workshop, actions can be assigned to each element. In addition to actions, any module that is added to the stage will appear as an element layer as well. Each module has settings specific to its functions. When selecting a module in the element layers, the left settings panel will update with the available settings for the selected module. More information on modules below.
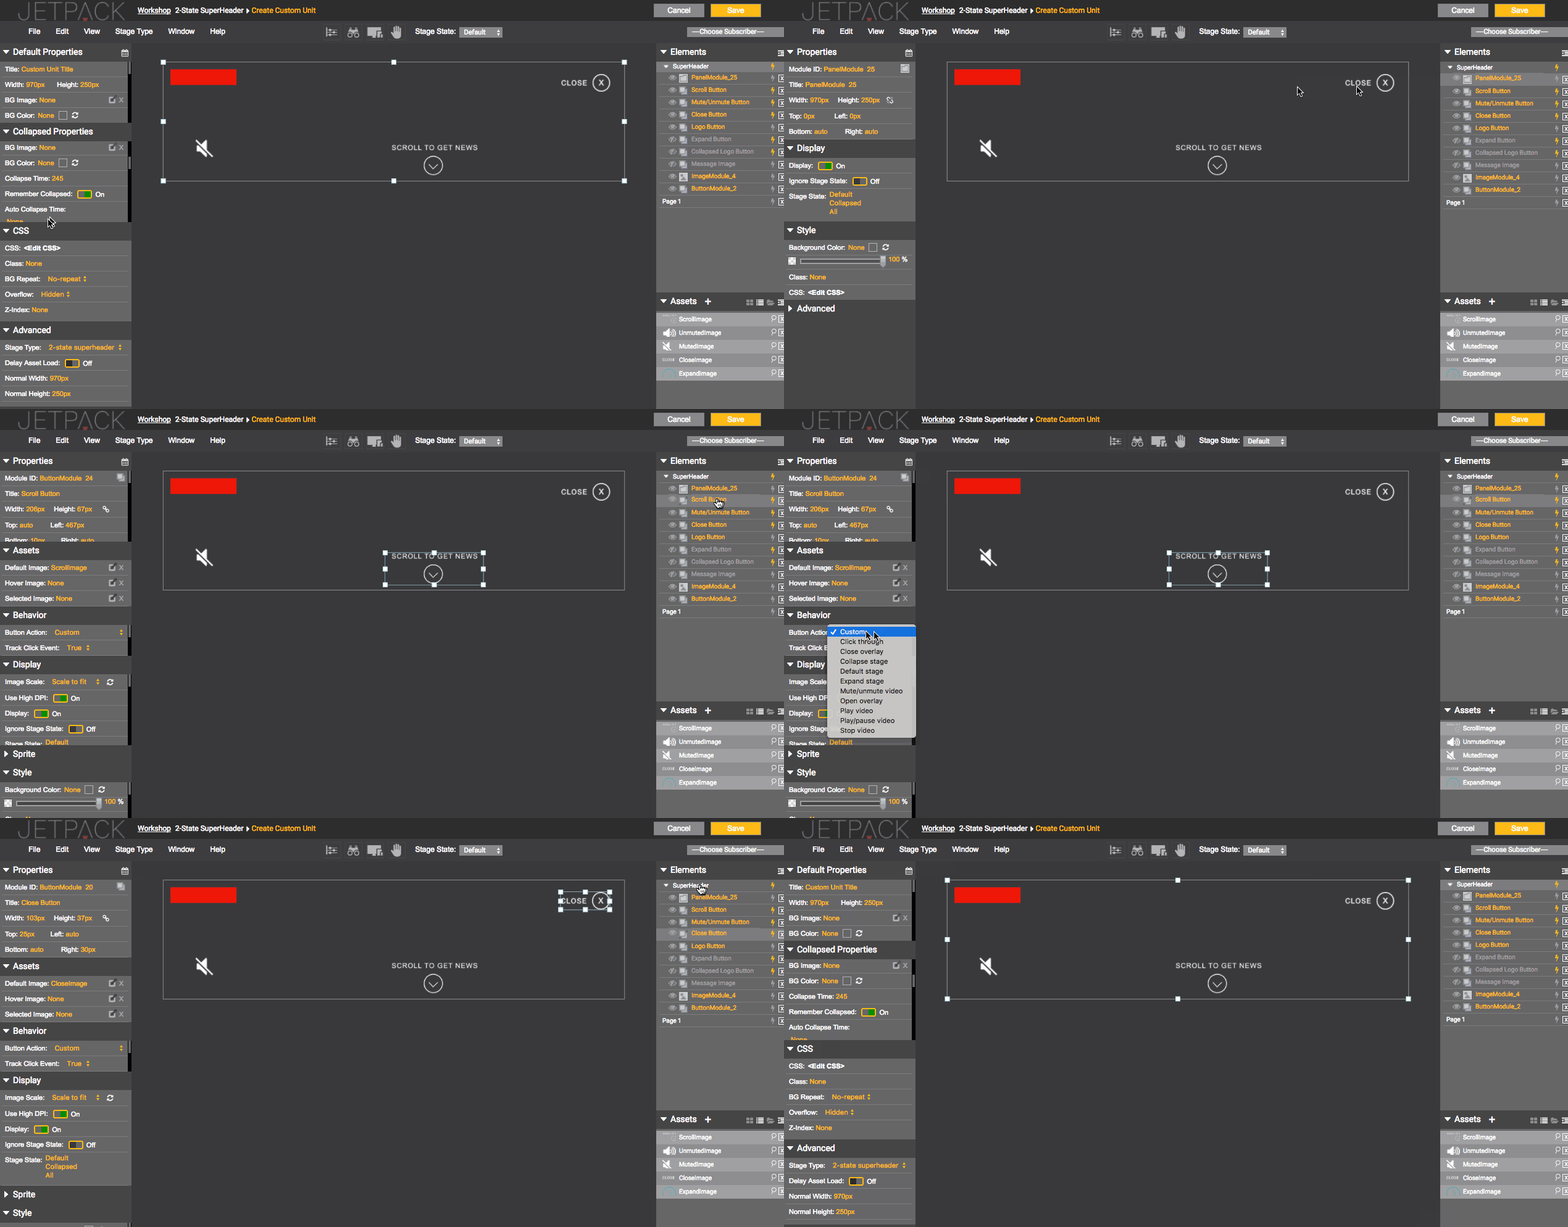
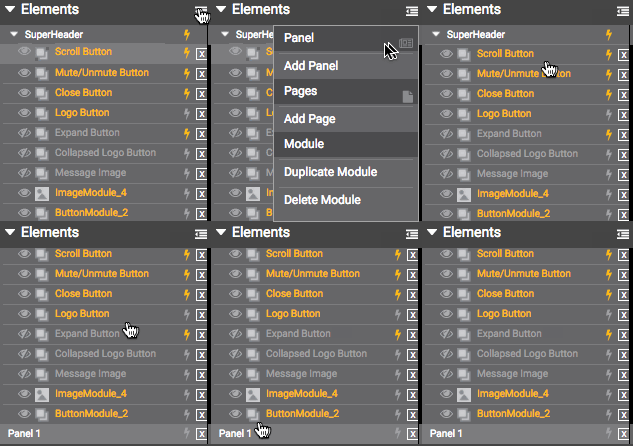
Elements Menu - The elements menu gives you options to add panels and pages to your stage. Panels and pages allow you to group modules which you can then target with actions to influence the entire group.
Assets
This is your one stop shop to manage all of your creative assets.
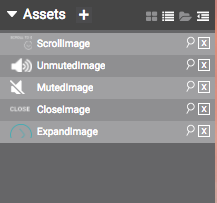
Upload your videos, images and icons to the asset library. When adding an asset to the stage, the Design Workshop will recognize the asset type and add the appropriate module. For example, add a video to the stage and you'll see a video module appear in your element layers. Hover over any of your assets to get a quick preview.
Video UploadingFor best practices regarding video, check out the Video Module page located here.
Modules
Refer to the Modules section here.
Updated 10 months ago
